10 Tips for Shooting Time-Lapse
During the past three years, I have thoroughly researched and practiced the technique of time-lapse photography. The knowledge I gained has enabled me to create great images that would otherwise have been impossible. Many people who watch my videos are wondering if they too would be able to make such images, and the answer is yes. Thanks to the modern technology and its affordable price, almost everyone has access to a digital SLR, and it does not take much more than that to take high quality time-lapses.
Whether you’re new to the technique of time-lapse or have some experience, these tips will be very helpful when planning and shooting your time lapses.
I hope you enjoy them and put them to practice.
1. Plan, plan, plan. As the Chinese proverb says, if I had ten hours to chop down a tree, I would use seven in sharpening the axe. If we are going to make a time-lapse of a sunset, it makes no sense to do 30 miles by car loaded with our gear to get to the place chosen only two minutes before sunset. It is therefore very important to check both the sunset and sunrise times, as well as their orientation in respect to our subject and other possible elements: the Moon, tides, etc., which may come into play.
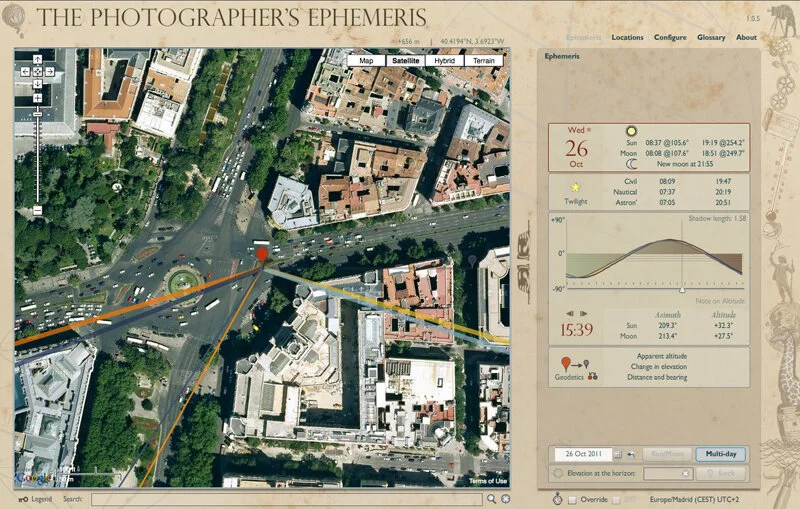
A great tool for this task is The Photographer’s Ephemeris. We should get to know its interface, observing the sun and moon and their trajectory, planning ahead our location … and only then begin to prepare the gear.
2. Don’t forget anything. When you go shooting time-lapse, you can spend several hours standing on a rock in the middle of nowhere, so you have to be well prepared. I wouldn’t want to sound like your mom, but it is worth reminding you that you should take with you enough water and food. If it’s cold, spare socks, a warm coat, gloves … And if it’s hot, more water, a hat and sunscreen. A fully charged cell phone and something to read is a must. Oh, and do not forget the camera and tripod.
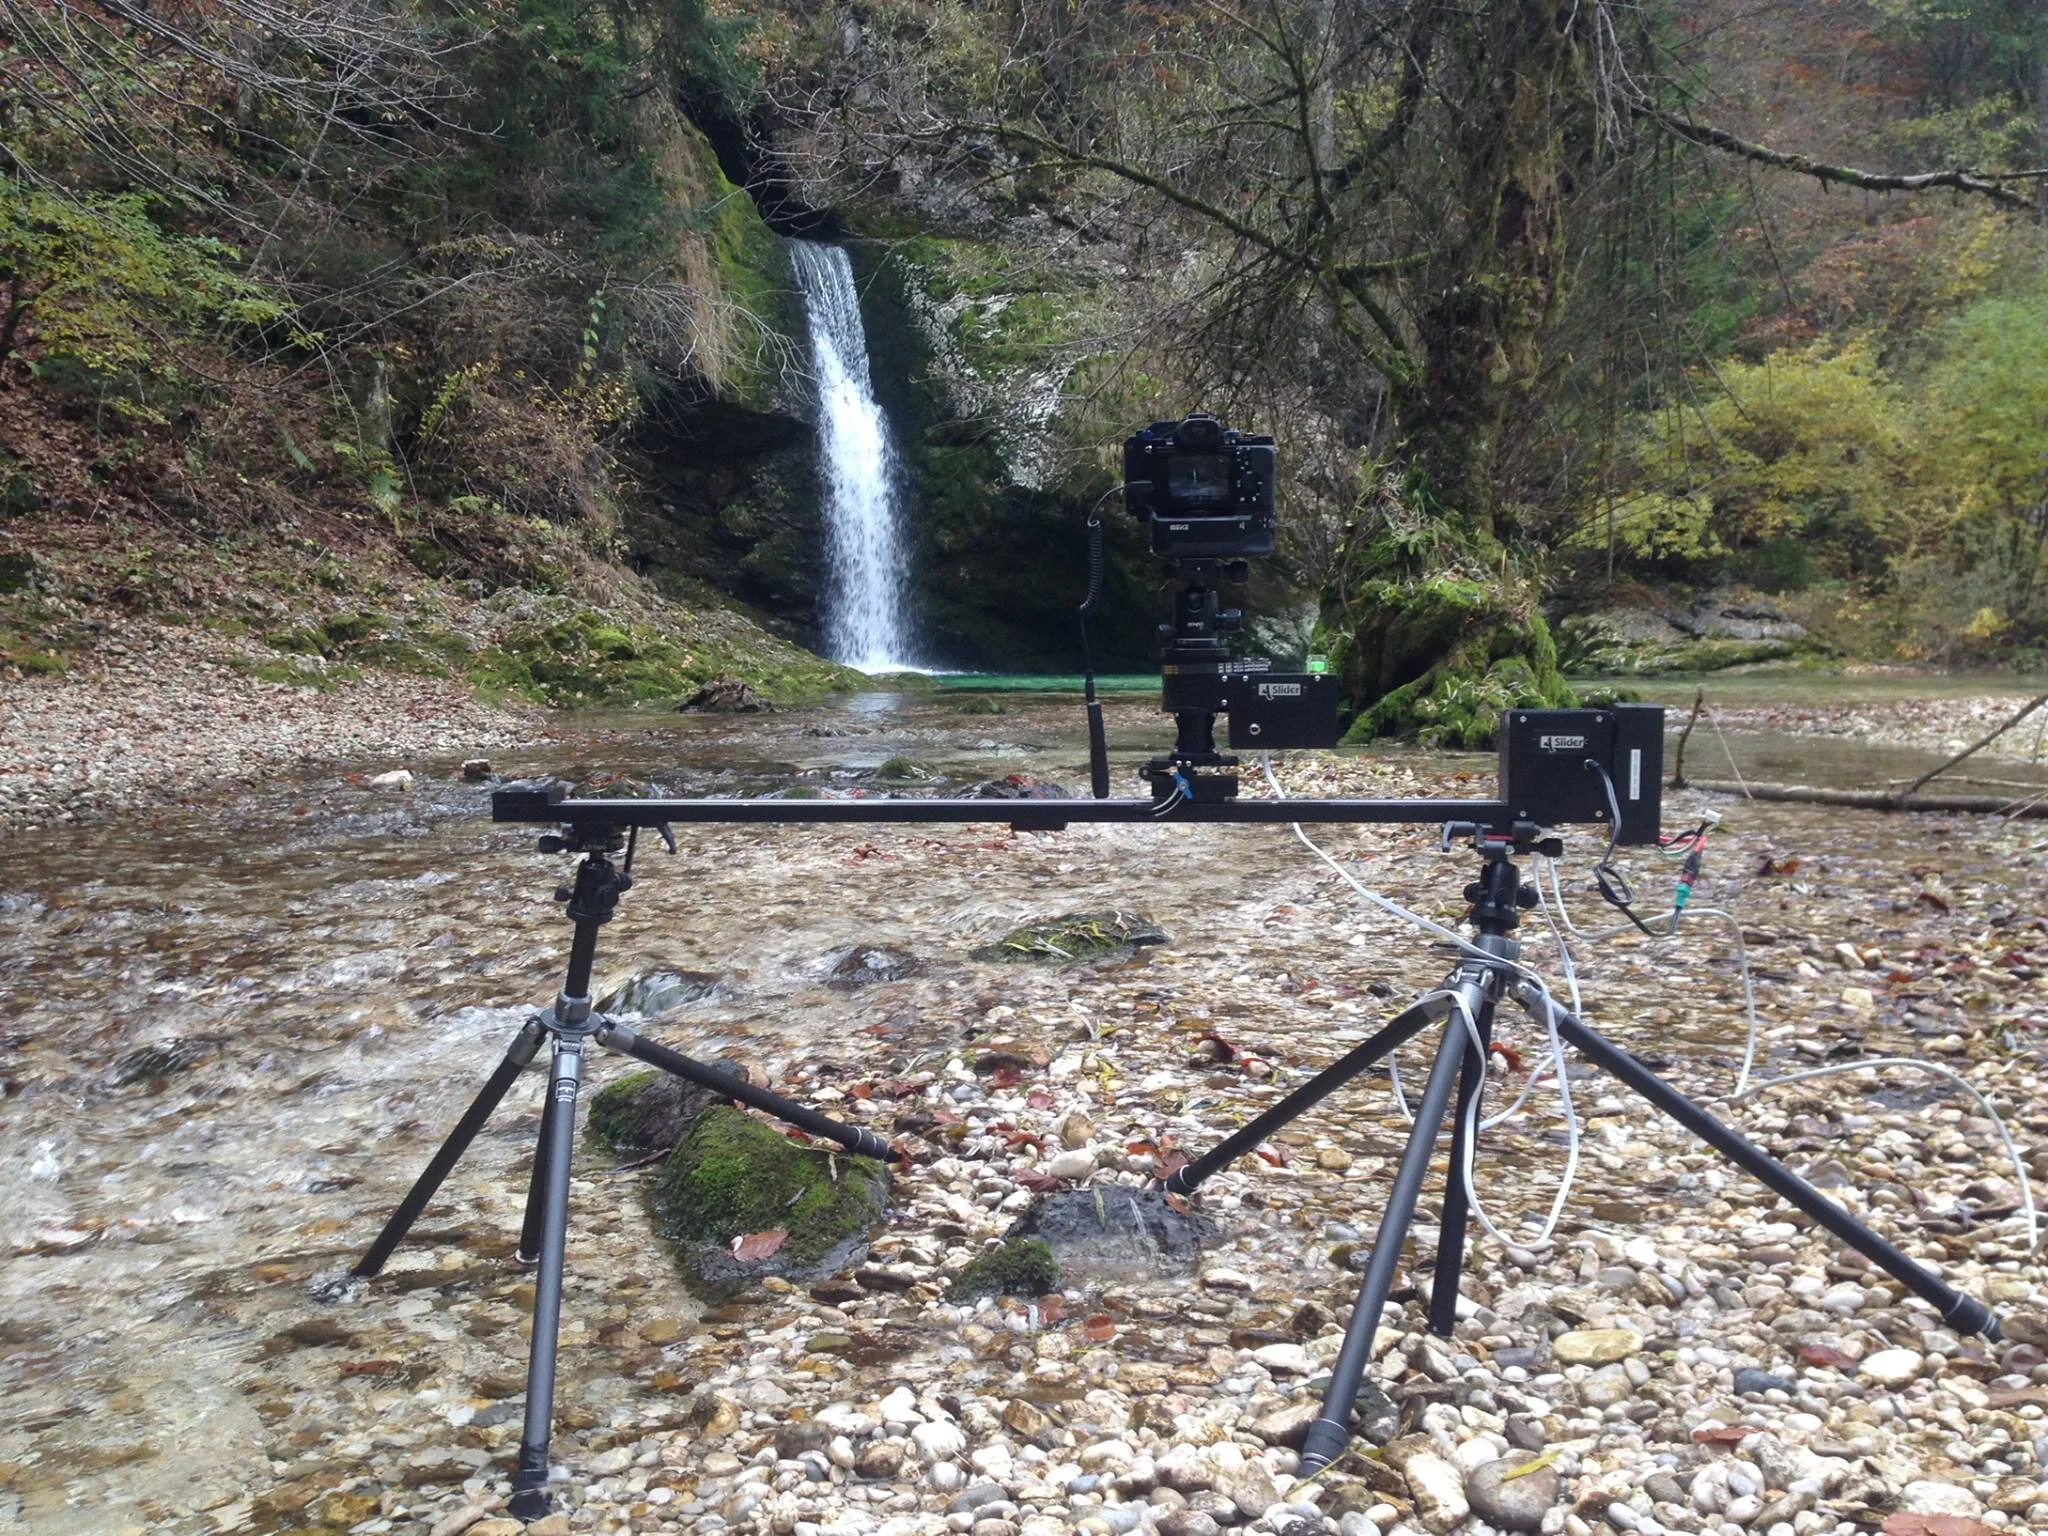
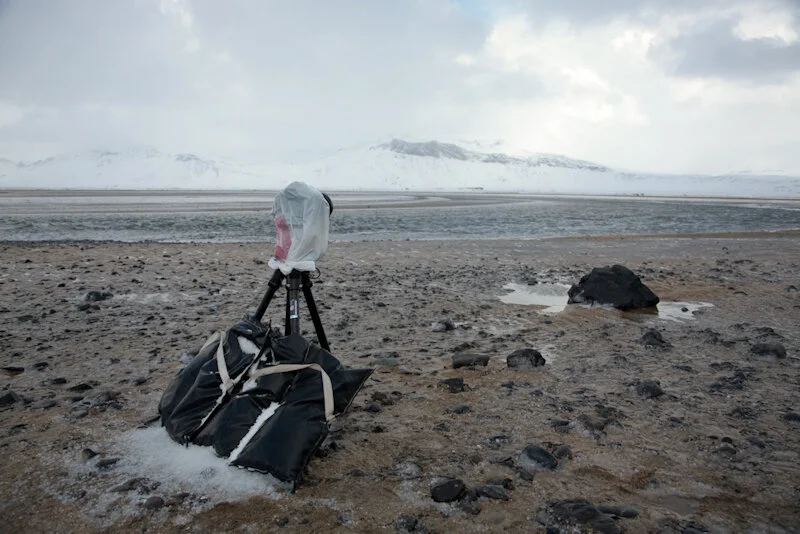
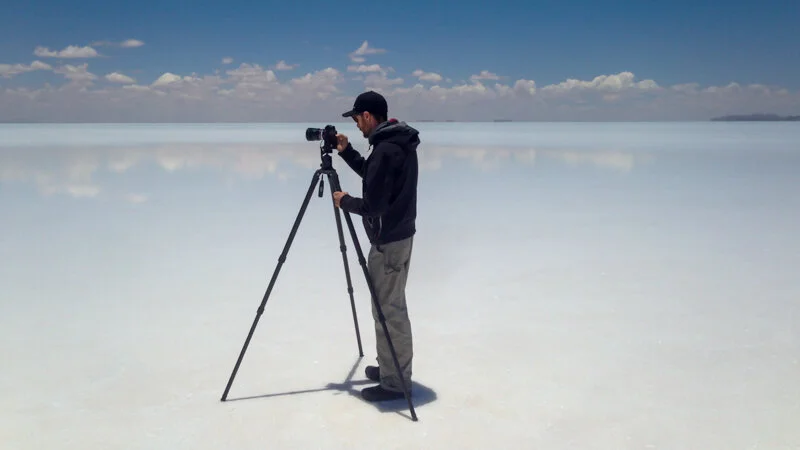
3. Tripod, our best friend. Stop dreaming about that expensive lightweight carbon tripod. What we really need is that old heavy tripod that nobody wants to carry. Keep in mind that your camera will remain in the same position perhaps for an hour or two. The slightest shake or rolling caused by the wind during the shots, will end up in a shaken take. If your tripod is not sturdy enough, you can hang your camera bag on it, or use stones to give it greater stability and rigidity. This is essential in long exposures.
4. Framing is key. Most of the times we arrive to the locations very excited, with so much energy that we are not able to visualize the scene, trying to find the right framing. Leave the backpack and tripod and take a walk around the area, imagine the shot, take a look at the scene, try to find the best location and composition.
We must act as if we were going to take a single shot, as if we had brought a single roll of film in which, unfortunately, we have only one exposition. The time-lapse technique is essentially photography, and we should think of it as such. If we are thinking only of what the final video will look like, we’ll skip the details that make the difference between a good shot and an epic image.
5. Basic camera settings. Some people will tell you that auto/priority mode and .jpg files are the best settings to make a time-lapse. Just as no one uses those settings when taking quality photographs, to achieve professional results in time-lapse we will use manual exposure and RAW format.
Both manual mode and RAW files will give us greater control both over our camera while shooting, and during postproduction. We must remember that the camera is shooting for a long time, so if we use any automatism, the camera will try to correct every change of light and the color temperature. So if you shot it in JPEG, there will be no turning back.
6. Live View. If your SLR has a good battery that lasts long, I would recommend using Live View. By using this feature, the mirror will always stay up and not hit when the shutter fires, thereby avoiding possible camera shake. Also, Live View allows us to visualize our shot in real time. If you also activate the histogram, you will have the exposure under control.
7. Focus accurately. It is very important to select the manual mode on both the camera and lens, if applicable. (If we have an SLR with Live View, we can also focus with the magnifying glass at the desired point.) In most of my shots I usually focus to infinity while using wide angle lenses. In other cases, however, having elements of interest in the first or middle term, we must ensure that this is where the focus will be. Knowing the hyperfocal of our lens is always important, since many of our shots are of landscape and in this case we want the longest depth of field.
8. Avoid flicker. No, I’m not talking about the popular photography website. Flicker is the unwanted effect that occurs in time-lapse due to slight differences in exposure between shots. This difference occurs because the diaphragm of autofocus lenses remains fully open until the shutter closes it, and not always at the same size. This results in tiny variations between takes.
We have two solutions in order to avoid this problem. First, using manual lenses, my favorite solution, ensures that the diaphragm is always kept fixed in the same position. The second and more accessible is to partially disconnect the lens from the camera in order to cut the communication between them, selecting the desired aperture ourselves using the depth of field button.
9. Choose the right lapse. This is perhaps the most important point when dealing with a time-lapse. The interval between shots is what will determine the speed of our final video. The longer the interval, the quicker the movement of the elements in our shot will be, and vice versa. But we must adapt the interval to the real movement of our scenery.
Confused? Here are a few suggestions of lapses depending on the scene.
Clouds moving very slowly: interval of 10 seconds.
Clouds moving at a normal speed: interval of 5 seconds.
Clouds moving very fast: interval of 3 seconds.
People walking down the street: interval of 2 seconds.
Path of the sun on a clear day, interval of 30 seconds.
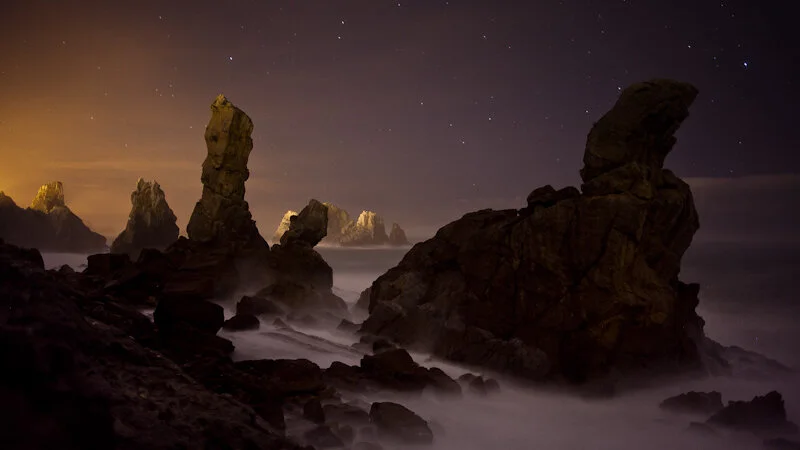
Night landscapes, stars, moon, etc.: interval of 20 to 30 seconds.
10. Knowing how long your time-lapse takes. This is the second major variable that we have to calculate. In many cases we know it, if the subject is a football game or a sunset. We’ll set an interval and clip duration that gives us an adequate number of frames. On the contrary, if we are shooting a scene without beginning or an end, like a flowing of a river, the exposure and interval will determine the length of the shot.
Some quick math: Knowing that we need 25 frames to create one second of video (in the European PAL system, in the United States it would be 30) a standard length of 10 seconds of footage will need 250 frames. Therefore, we only have to multiply 250 by our lapse to know how much time we need to invest in doing the “time-lapse”.
If you’re shooting an event you don’t know the duration of, or you want to capture a long scene, like a thunderstorm formation, the interval is the most important variable: choose the right one for the scene and select “infinity” or “zero” in the number of frames of your remote. Now you just have to be patient.